Small business owners often have useful knowledge sitting inside ordinary work. You explain a service, demonstrate a feature, or answer a customer question, then move on to the next task. That explanation could also help someone visiting your website or discovering your business through social media.
A product demonstration gives you a starting point for several useful pieces of content. The key is to decide what each version should help its audience understand.
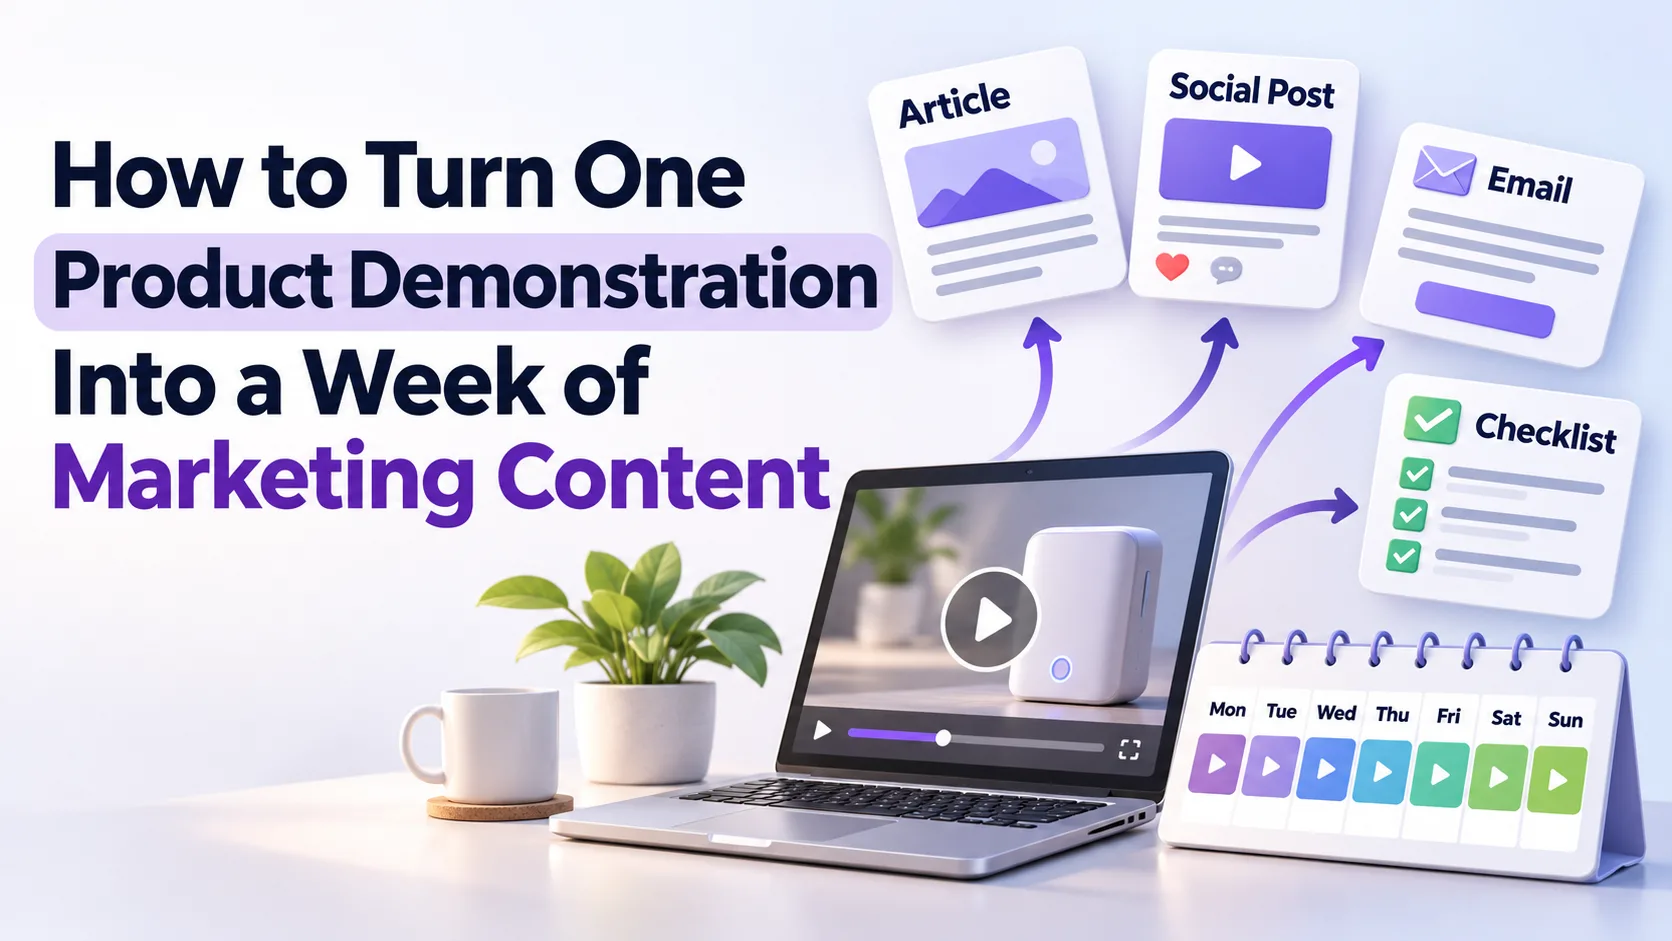
Here is a practical way to turn one demonstration into a week of marketing content while keeping the production process manageable.
1. Choose One Task Worth Demonstrating
Start with a task customers regularly ask about. It should have a clear beginning, a visible action, and an understandable result. Examples include booking an appointment, configuring a product, checking an order, or preparing something for use.
Keep the scope narrow. A demonstration called “How to book your first appointment” gives you a clearer structure than a general tour of everything your business offers.
Write down three things before recording: who the demonstration serves, what they need to do, and what successful completion looks like.
For example, your intended viewer might be a new customer who wants to choose a service, select an available time, and receive booking confirmation.
2. Record a Clear Source Version
Prepare the demonstration before opening your recording tool. Remove unrelated windows, organise any physical materials, and check that the steps match your current process.
Use sample information wherever customer details might otherwise appear. Make the pointer, product, or control easy to see. Pause briefly between actions so viewers have time to follow.
Record the complete task once, including the final result. If something goes wrong, repeat that section instead of trying to explain around a confusing recording.
Keep a separate note of the steps and any questions a beginner might ask. Those notes will become the foundation for your article, captions, and checklist.
Before editing, watch the recording as if you were unfamiliar with the task. Look for missing clicks, unexplained terms, or changes that happen too quickly. If you use narration, speak in short sentences and remove unnecessary background noise. A brief review now can prevent the same unclear instruction from being repeated across every version you publish.
3. Write the Complete Explanation First
Turn the demonstration into a useful written guide before producing shorter versions. Explain what readers need beforehand, describe each step, and show how they can recognise success.
For the booking example, mention any information customers should have ready. Explain where confirmation appears and what they should do if they need help.
Use descriptive headings that let readers find their place quickly. Add screenshots only where they clarify an action, and keep essential information in the text.
This guide becomes the main reference for your other content. Check every shorter version against it so instructions stay consistent across channels.
4. Create a Short Visual Demonstration
Choose one action from the recording that makes sense without a lengthy introduction. Selecting an appointment time, for example, could become a brief visual inside your written guide.
For a suitable video to GIF project, you can explore VideoToGIF as part of your production workflow.
Trim the clip to the useful action and check the finished animation at the size readers will actually see. Important details should remain visible on a phone.
Avoid putting essential instructions only inside moving images. Include a written explanation, and use a still image or video with playback controls when that better suits the task.
5. Plan Seven Pieces With Different Jobs
Your original demonstration can support a full week of content without requiring seven separate topics. Give each piece a defined role.
Monday: Publish the complete guide. Help readers finish the task with clear instructions and a relevant next step.
Tuesday: Share a short video introducing the problem and showing the result. Direct interested viewers to the full explanation.
Wednesday: Publish a checklist covering what someone needs before starting. Make it useful on its own.
Thursday: Share one visual demonstration from the process. Explain the action in the caption so readers have context.
Friday: Answer a related question. For an appointment guide, this could explain where customers can find their confirmation.
Saturday: Send a short email highlighting the guide for subscribers who would find it relevant.
Sunday: Share a concise recap with the most useful takeaway and invite questions that could improve the guide.
This is an example schedule. Adapt the number of pieces to your capacity and the places your customers actually use.
6. Match Each Version to Its Destination
Repurposing works best when you adapt the explanation to the setting. A website visitor may need detailed steps, while an email subscriber may need a brief reason to read further.
Open each piece with enough context for someone seeing your business for the first time. Avoid references such as “as explained yesterday” when the earlier content is necessary to understand the message.
Check links, image readability, captions, and the next action before publishing. A useful post should make it clear where readers can find more detail or complete the task.
Keep your claims consistent too. Do not promise something in a social caption that your product or service cannot deliver.
7. Control the Cost of Production
List the work you need to complete before adding software. Recording, editing, conversion, storage, and scheduling may already be covered by tools your business uses.
If you identify a genuine gap, compare a small number of suitable options. Look beyond the initial price to renewal costs, usage limits, export formats, and cancellation terms.
You can include DealFlick in your research when exploring potential offers. Confirm the current terms directly with the seller before making a purchase.
Keep a simple spending record showing each tool, its purpose, its billing date, and whether it is still being used. Review that record before the next renewal.
8. Measure Usefulness and Keep Content Current
Choose a measure connected to the task. For an appointment tutorial, you could review relevant clicks, completed bookings where tracking permits, and recurring questions from customers.
Interpret those signals carefully. A sale or booking may involve several interactions, so avoid assuming one post caused every result.
Look for points of confusion. If readers repeatedly ask the same question, improve the guide and update the supporting content.
Save the source recording, written steps, images, captions, and published links together. Add a review date so you can check the instructions after a process change.
Set a time limit for the experiment and record how long each stage takes. After the first cycle, compare the effort with the response. You may discover that a guide and a short clip are enough for your audience. Keep the formats that serve a clear purpose, and simplify anything that creates work without helping your intended readers.
Start With One Demonstration
Choose a task you already explain regularly. Record it clearly, write the complete guide, and create a few supporting formats with specific purposes.
Once the process feels manageable, expand the number of pieces you produce. A useful demonstration can give your audience several ways to understand the same task and give your business a repeatable approach to content creation.