In the age of social media and constant photography, having camera-ready lashes is more important than ever. Whether you're taking a professional headshot, attending a wedding, or simply snapping a selfie, your eyelashes play a crucial role in how your eyes appear on camera. Unfortunately, even the most beautiful lashes can look sparse, flat, or invisible in photos if not styled with photography in mind. This guide offers expert tips on making your eyelashes stand out in photos, from choosing the right extensions to mastering lighting and posing.
Choose Lashes That Photograph Well
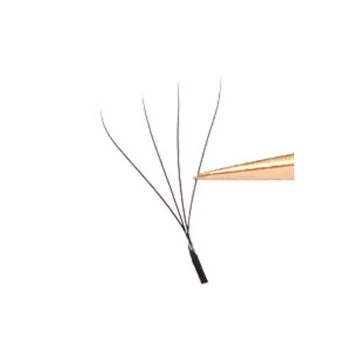
Not all lash styles translate well to photography. In general, lashes that are darker, slightly longer, and with a defined curl appear more prominent in photos. Classic and hybrid extensions offer a natural yet noticeable enhancement that photographs beautifully. For those who want more drama, volume extensions create a fuller look that reads well on camera. When selecting extensions, opt for a dark black or espresso shade—lighter colors like brown may not show up as strongly in photos. Lashes with a C or D curl tend to open up the eyes more in images. Many professional photographers recommend lashes from a lash extension supplier known for high-contrast, camera-friendly fibers.
The Role of Mascara in Photography
If you're using mascara instead of extensions, choose a formula that adds volume and definition without clumping. A waterproof formula can be beneficial for photo shoots to avoid smudging and running, but make sure it doesn't flake. Apply a lash primer first to add a base layer of volume, then follow with a lengthening and volumizing mascara. Avoid over-applying, as thick, clumpy lashes can look unnatural on camera. For a more defined look, use a lash comb to separate lashes after application, and consider adding a few individual false lashes at the outer corners for extra length and drama.
Lighting and Angles
The way light hits your lashes can dramatically affect how they appear in photos. Soft, diffused light (such as during golden hour or from a ring light) highlights the texture and curl of lashes, making them appear fuller. Harsh overhead light can cast shadows that obscure lashes. When posing, tilt your chin slightly down and look up toward the camera—this angle lifts the lashes and makes them more visible. Avoid looking directly down, as this hides your lashes entirely. For selfies, position your light source in front of you rather than above or behind.
Makeup Tips for Photo-Ready Lashes
Complement your lashes with makeup that enhances their visibility. A thin line of dark eyeliner along the upper lash line creates the illusion of fuller lashes. Tightlining your upper waterline with a waterproof pencil fills in gaps and makes lashes appear denser. A subtle shimmer on the eyelids can catch light and draw attention to your lashes. Avoid heavy, glittery eyeshadow that can distract from your lashes. Instead, keep the eye makeup clean and focused on definition.
Making your eyelashes stand out in photos requires a combination of the right products, styling techniques, and awareness of lighting and angles. Whether you choose professional extensions, a well-applied mascara, or a combination of both, the key is to enhance definition and volume without looking overdone. By following these photography-friendly tips and sourcing quality lash products from a reputable best eyelash extension supplier, you'll ensure your lashes look stunning in every shot. So the next time you're in front of the camera, you can smile confidently, knowing your lashes are picture-perfect.