Picture a plain concrete wall at dusk. Someone powers on a projector, and within seconds the wall seems to crack open and water pours down it while the crowd reaches for their phones. That flash of disbelief is the promise of projection mapping, and it is far more accessible than most people expect.
Projection mapping turns ordinary objects, buildings, and interior surfaces into dynamic digital displays. Instead of playing video on a flat screen, this projection technology aligns visuals with the exact shape of a surface, so a sculpture, a wall, or a product can appear to move, glow, or dissolve. Brands, museums, and cities use it to transform the spaces where people gather.
The gap between an amateur result and a jaw-dropping one rarely comes down to budget, but to a few decisions made before anyone presses play. The five hacks below reflect how experienced teams build immersive experiences, and each one is simple enough to try on your next project.
What Are the Best Projection Mapping Hacks for Beginners?
The best hacks focus on planning, light control, surface choice, alignment, and rehearsal, and none of them require expensive gear. They focus your attention on what makes a projection look crisp instead of washed out.
Hack 1: Plan the story before you touch the projector
Strong projection mapping starts with a script, not a screen. Decide what feeling you want and what the surface should do, then build content around it. A projection that just plays a movie on a wall is not mapping. It is a movie on a wall.
As AVIXA notes in its analysis of projection and LED, the tools only matter to the degree that they serve the narrative. Sketch a storyboard, link every scene to a physical feature of the surface, and cut whatever does not serve the message. Clear visual storytelling turns a technical demo into something people remember.
Hack 2: Win the fight against ambient light
Contrast is everything in projection mapping, and ambient light is its biggest enemy. The darker your environment, the richer your colors look, and a projection that dazzles in a blackout can turn pale the moment house lights or streetlights compete with it.
Two moves solve most problems:
⦁ Control the room. Use black drapes, hoods, or careful scheduling so mapped areas stay out of bright washes. Outdoor shows look best after full dark.
⦁ Match brightness to conditions. As a rough guide, small indoor surfaces suit 3,000 to 5,000 lumens, larger stages need 10,000 or more, and full building facades often demand 20,000 and up.
Perceived brightness does not scale evenly with lumens, so it is smarter to control the light than to keep buying brighter projectors.
Hack 3: Treat the surface as part of the canvas
Your surface is not a neutral background. It is half of the final image, so choose and prepare it carefully. Light colored, smooth, matte surfaces reflect the most detail, while dark or glossy materials absorb light and create hotspots that break the illusion.
When you cannot change the surface, adapt to it. If a texture is unavoidable, design content that embraces it, using the cracks, panels, or curves as part of the story. This is where creative installations feel intentional rather than accidental.
Hack 4: Align by hand before you trust auto-correction
Precise alignment separates professional projection mapping from a blurry mess. Resist automatic keystone correction, which stretches the image and softens detail, and instead position the projector so the beam hits the surface as squarely as possible.
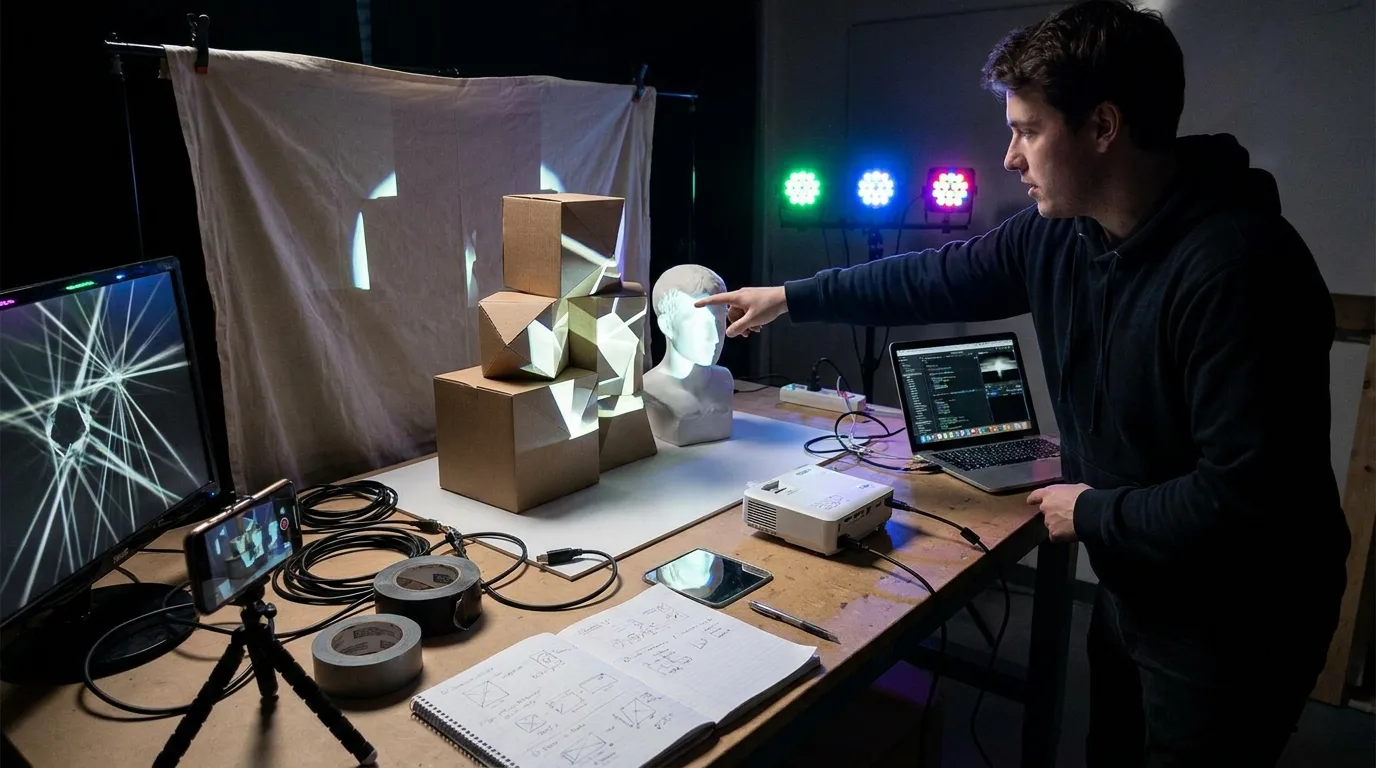
Then use warping and masking tools in software like MadMapper, HeavyM, or TouchDesigner to trace the surface exactly. Project a test grid first so you can spot misalignment before real content goes up. For wide surfaces that need two or more projectors, overlap the images slightly and feather the seam with edge blending so the join disappears.
Hack 5: Build a digital rehearsal before the real one
Projection mapping is a hands-on, iterative craft, so rehearse in advance. Professionals often build a simple 3D model of the space and preview content on it, which catches scale and timing problems long before load-in day.
Always test in the real environment, at the same time of day you plan to run the show. Keep a short checklist for focus, alignment, and brightness so small problems never become showstoppers.
How Do These Hacks Improve Visual Experiences?
Together, these habits protect contrast, sharpness, and storytelling, the three things audiences actually notice, so interactive environments feel seamless and the technology disappears behind the experience. This is why teams that design projection-mapped brand environments treat content, contrast, and calibration as one workflow.
Expert Recommendations
A few principles hold true on almost every successful project:
- Start small and specific. One well executed surface beats an ambitious setup that never aligns properly.
- Respect the diminishing returns of brightness. Fix your lighting first, then choose a projector.
- Rehearse content on the real surface, not just a laptop screen.
- Invest in the story. The most advanced projection technology still fails without a reason to care.
These echo what studios like Christie demonstrate through large scale projection mapping work, where clean setup and strong content come before spectacle.
Frequently Asked Questions
What is projection mapping in simple terms?It projects video or animation onto three dimensional surfaces so they appear to move or change, turning walls, buildings, or props into dynamic digital displays.
Do I need expensive equipment to start?
No. Beginners get impressive results with one bright projector, free or low cost software, and a controlled dark space. Planning and alignment matter far more than the price of your gear.
What surfaces work best?
Light colored, smooth, matte surfaces reflect detail without glare. Dark or shiny surfaces absorb light and create hotspots, so they need brighter projectors or a different plan.
How many lumens do I need?
It depends on surface size and ambient light. Small indoor projects often work with 3,000 to 5,000 lumens, while large outdoor facades can require 20,000 or more.
Where is projection mapping used most?
Across event technology, museums, retail, product launches, and public festivals, from immersive brand activations to interactive museum exhibits and architectural shows.
At Last
Projection mapping rewards preparation more than spending. When you plan the story, control the light, respect the surface, align by hand, and rehearse before the doors open, you build on the foundation the best studios rely on. The tools keep getting more powerful, but the magic still comes from how thoughtfully you use them to create visual experiences people remember.