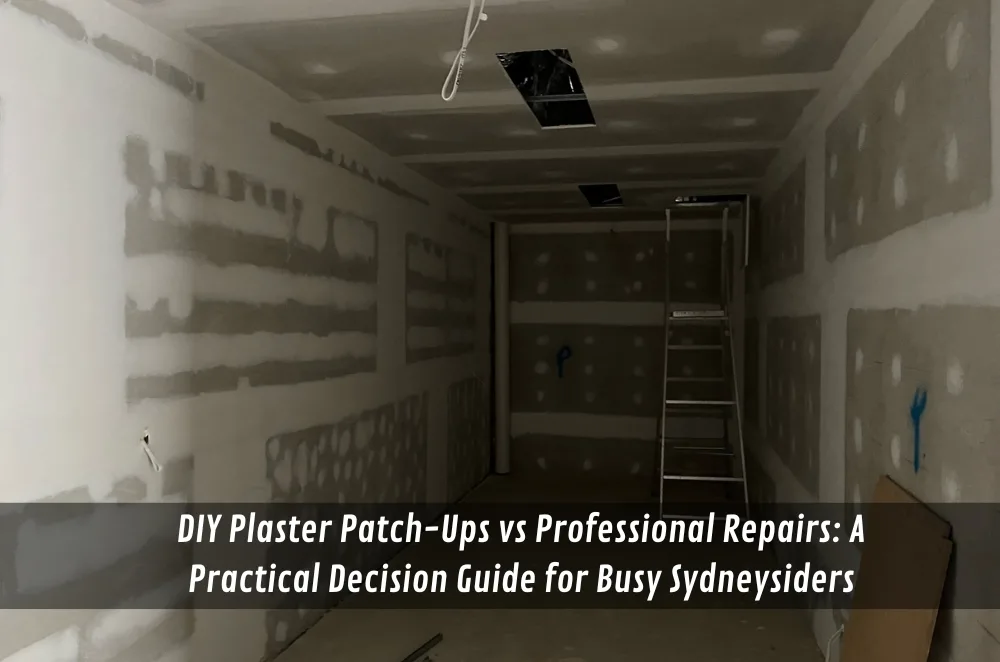
A little dent in the hallway, a hairline crack above the doorway, maybe a small hole where a picture hook used to be—none of these look serious enough to call in trades. Yet fast-forward a few months, and that “small job” can bubble, re-crack, or flash through the fresh coat of paint.
For time-poor Sydneysiders weighing up a Saturday morning patch-up against picking up the phone, this guide walks through the real pros and cons of DIY plaster repairs and explains where a licensed plasterer earns their keep.
Why Quick Wall Fixes Seem Easy (But Aren’t Always)
Open any hardware flyer and you’ll find ready-mixed fillers, “20-minute set” compounds, and ergonomic sanding blocks promising a flawless surface in record time. The appeal is obvious:
• Low upfront cost—often under $50 in materials
• No waiting around for trades schedules
• A sense of weekend-warrior accomplishment
But walls are a little like icebergs: what you see is only part of the story. Movement in older timber frames, humidity swings near the coast, or legacy lime plaster under modern Gyprock can all dictate whether that patch stays invisible or telegraphs through a new paint film.
If the job size, location, or total value exceeds certain thresholds, NSW law also kicks in. For example, according to NSW Fair Trading licensing guidance, any residential building work over $5,000 in labour and materials must be carried out by a licensed contractor. Even when you’re well below that figure, the guideline is a reminder that some repairs enter “professional territory” quickly.
First, Size Up the Damage
Before grabbing a tub of jointing compound, run through a quick triage:
SymptomOften Cosmetic?Could Signal Something Deeper?Nail pops, tiny dentsYesRarelyHairline vertical crack under 1 mmUsuallySometimes frame movementRe-appearing diagonal crackNoPossible settlement or moistureBulging plaster, hollow soundRarelyLikely water damage or delaminationBrown or yellow stainsNoActive leak or previous leak not sealedIf your patch falls in the “sometimes” or “likely” columns, extra detective work is required, or you risk re-work later. Readers wanting more detail on assessing finish quality can check out how to spot a good plastering job before you paint for a closer look at sheen, flatness, and sanding standards.
The True Cost of a Weekend DIY Patch
A single 500 g tub of patching compound, small hawk, 120- and 180-grit paper, dust mask, and cheap broad knife add up quickly, especially if you only need them once. Then comes the hidden cost—your time.
Below is a snapshot comparison of DIY vs pro repairs for an average living-room wall blemish.
FactorDIY Patch-UpProfessional RepairOut-of-pocket materials$30–$70Included in quoteTools requiredKnife, sander, filler, primer, PPECarried by plastererTypical working time (1 sqm total repair area)2–3 hrs over two days (dry time)45–60 min + return visit if neededFinish quality riskDepends on skill; flashing & edge ridges commonSmooth to 4-or-5-coat paint standardMess & dust controlDrop-sheets and vac requiredDustless sanding gear often suppliedRisk of repeat crackHigh if cause not fixedLow—issue diagnosed & joint tapedWhile the dollar figure leans heavily towards DIY, it’s easy to underestimate the downtime: waiting for coats to dry often drags the job across an entire weekend.
Common DIY Pitfalls That Make Painters Cry
- Over-filling then sanding flat spots.
Trowelling on too much compound feels safer, but sanding a mountain back to level often feathers outside the intended area, creating a visible dip once painted.
- Skipping the “pre-fill”.
Deep holes need a setting-type base or mesh backing before the easy-sand topcoat. Otherwise, filler slumps.
- Using the wrong grit order.
Jumping straight to 240-grit leaves the middle still proud. Professionals start coarser, finish finer, then spot-prime to avoid flashing.
- Painting too soon.
Even “fast-dry” fillers can shrink for 24 hours, especially in cooler Inner West terraces. A quick coat of colour traps moisture, creating a halo later.
- Ignoring moisture stains.
A patch can’t mask damp. Without fixing the leak or sealing the stain, tannins bleed and the paint film blisters.
When a Quick Patch Won’t Cut It
So when should you put down the broad knife and pick up the phone? Warning signs include:
• Cracks wider than 2 mm or widening over time
• Discoloured or crumbly plaster when scraped
• Hollow sounds tapping around the defect
• Ceiling sag or cornice separation (safety risk)
• Repairs on heritage lath-and-plaster walls where matching texture matters
At this point, bringing in skilled plasterers for interior walls is often cheaper than chasing the problem with multiple DIY attempts. A professional can also advise if the movement issue is structural, saving you from cosmetic band-aids.
What a Licensed Plasterer Brings to the Table
- Correct diagnosis.
Is the crack from seasonal timber shrinkage or a roof leak above? Pros quickly separate cosmetic from structural issues.
- Seamless finish matched to the substrate.
Older double-brick Federation homes in Randwick may hide lime plaster, while post-1990 apartments in Parramatta are almost always Gyprock. Each needs different prep and setting times.
- Dustless, fast equipment.
Portable extraction sanders and vacuum-ready orbital heads reduce clean-up, a boon for families working from home.
- Certified safety.
Cutting or sanding old ceilings can disturb asbestos in properties built before 1990. Plasterers carry the right respirators and know when to call a licensed asbestos assessor.
- Warranty on workmanship.
Legitimate businesses supply receipts and stand behind the job—useful for rental bonds or pre-sale cosmetic guarantees.
Staging Repairs Around a Busy Household
If you’re juggling Zoom meetings and the school run, ask your plasterer about:
• Early-morning starts so filler sets while you’re at work
• Splitting repairs by room to keep living areas usable
• Using fast-set base coats under a standard topcoat for same-day sanding
These small adjustments often shave days off the overall repaint timeline.
Final Thoughts
For minor dents and stable hairline cracks, a careful DIY approach can work if you factor in drying times and sanding patience. The moment gaps widen, stains appear, or the patch sits in a focal point like a lounge-room feature wall, the risk of an obvious repair (and the repaint that follows) skyrockets.
Weigh up the true cost—time, mess, finish quality, and repeat work—before deciding. Sometimes the smartest weekend project is making space for a licensed plasterer to deliver a wall that looks new long after the paint cures.